
Launch a Dictionary Project in Local Schools
How To Implement the Illustrated Dictionary Project


Thank you for your interest in making a profound difference in children’s lives. Here is an information sheet to print, “General Club Information,” and distribute to each club member. It has good information and some interesting charts. It would be helpful if club members would watch the first 20 minutes of the Teacher Training Video below to understand the WHY of this project.
Here is everything you need to LAUNCH A DICTIONARY PROJECT in your area schools
1. Determine which schools are the lowest-performing schools in your area. Target those schools.
2 Make an appointment with the principal and/or assistant principal. Let them know that your organization would like to
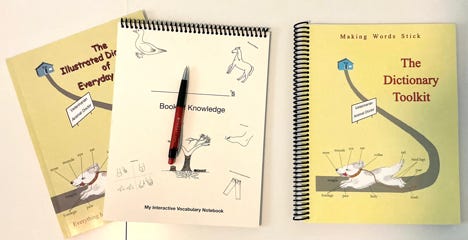
give a gift of a special illustrated dictionary to each of their 2nd grade students.
3. Meet with the principal or assistant principal. Before you go, print Principal Meeting Outline and Principal
Information.
4. Determine how many students and teachers are in 2nd grade classrooms. Ask the principal how many to add.
5. Get quotes from local printing companies. You will contact us to provide files and printing specs to your local
printer or for information to order directly from us.
6. Call each school again after books have been printed to schedule the following events:
A.) A meeting with the 2nd grade teachers (30 - 45 minutes)
B) A day to distribute the student books to each 2nd grade student. (45 - 60 min.)
7. Meet with the teachers: show the “Author’s Video to the Teachers.” Before you go, print Teacher Meeting Outline
and Teacher Information.
8. Distribution Day: Show the “Author’s Video to the Students” and distribute the books when prompted on the video.

This page last updated 9/1/25